> ## Documentation Index
> Fetch the complete documentation index at: https://docs.prisme.ai/llms.txt
> Use this file to discover all available pages before exploring further.
# Account Setup and Configuration
> Configure your Prisme.ai account and environment
Setting up your Prisme.ai account correctly ensures you can make the most of the platform's capabilities. This guide walks you through the essential configuration steps and options.
## User Account Setup
The onboarding process varies depending on the type of subscription you or your organization has.
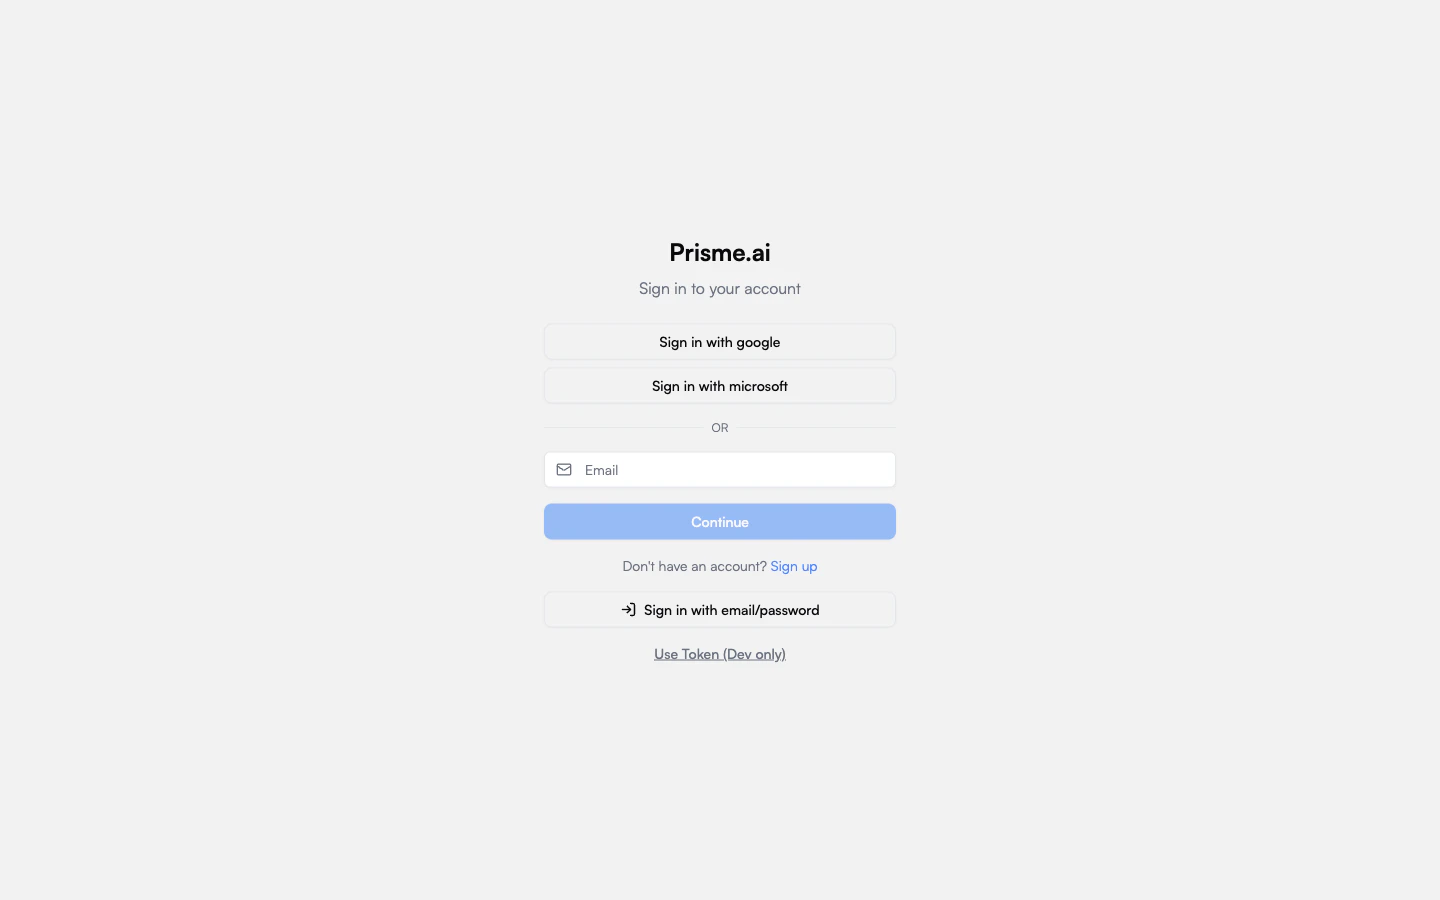
For Enterprise customers, simply log in with your company's SSO. Your account will be automatically created and configured with the appropriate access rights based on your role in the organization.
 All authentication and authorization parameters are managed by your IT department in accordance with your company's security policies.
After your first login, you can customize your user experience:
All authentication and authorization parameters are managed by your IT department in accordance with your company's security policies.
After your first login, you can customize your user experience:
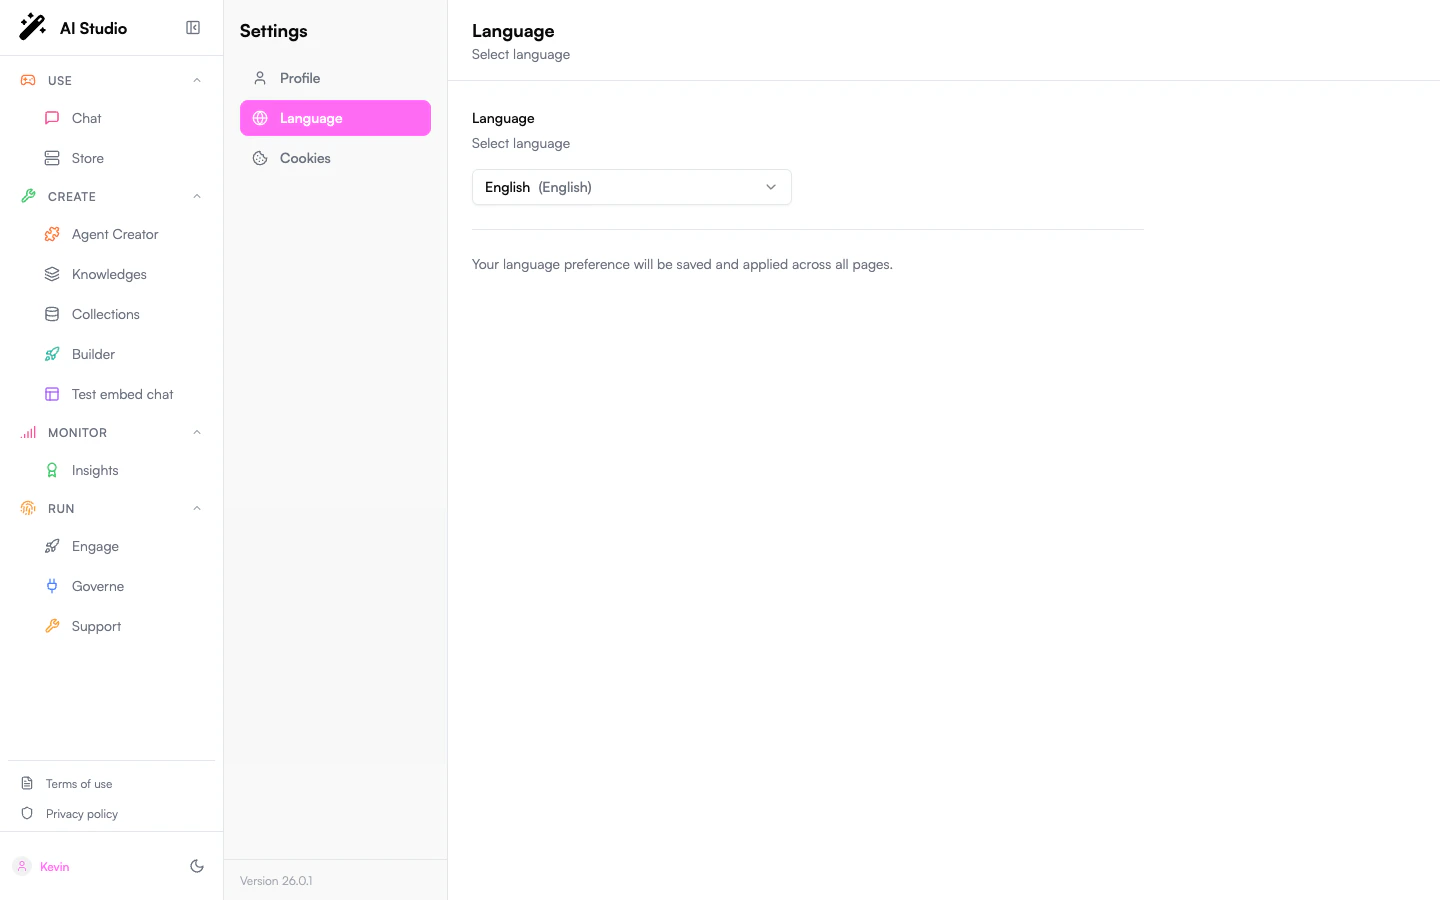 The platform automatically adopts:
* Your browser's language (can be changed manually)
* Display mode (light/dark/system)
These preferences can be modified at any time from your profile.
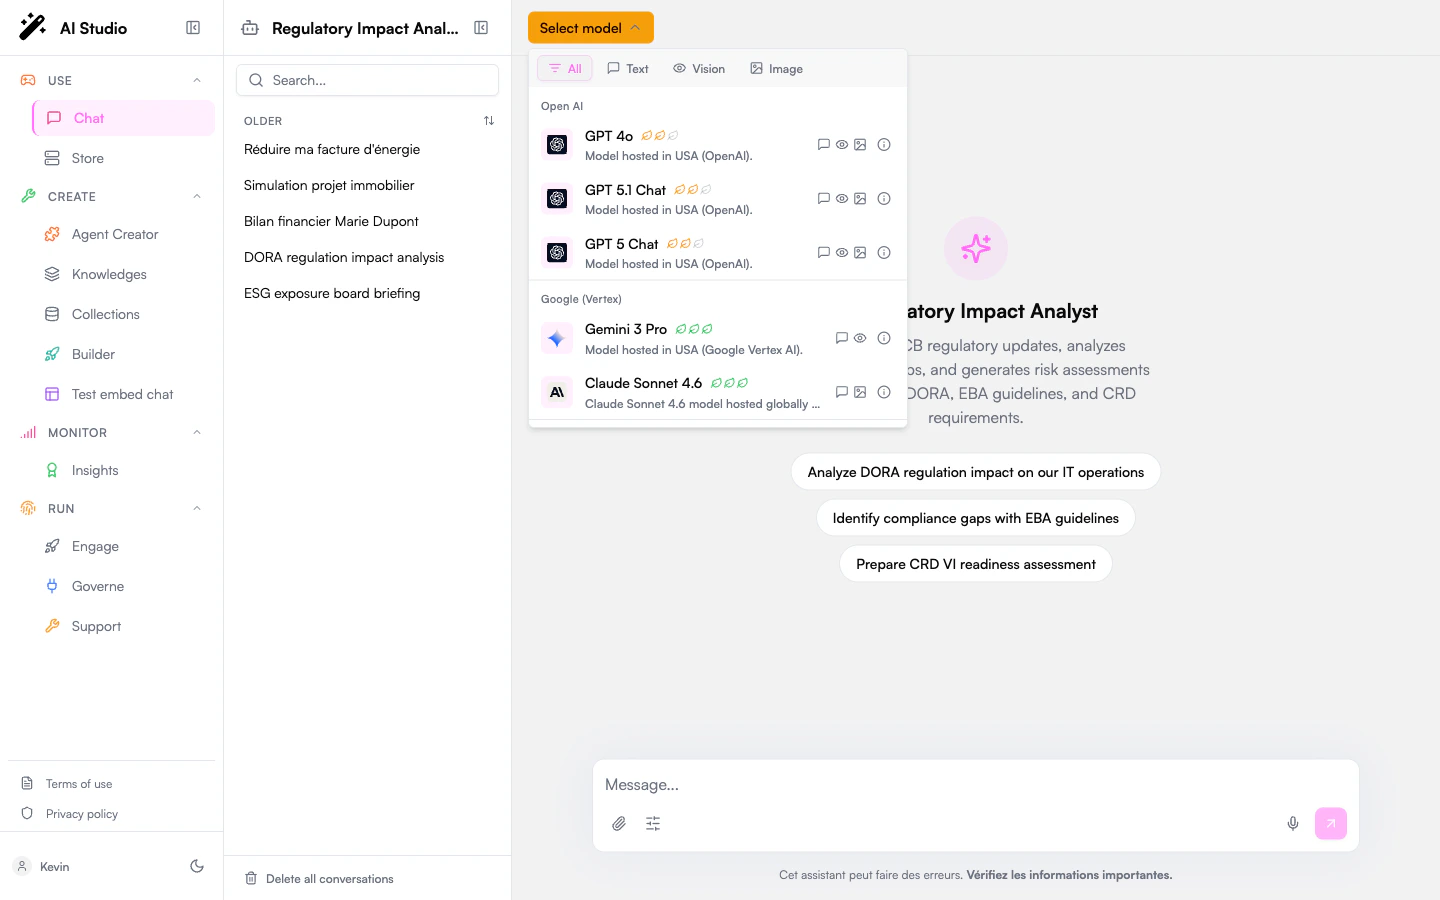
In the Enterprise offering, access to LLM models and secure chat features is automatically configured according to:
The platform automatically adopts:
* Your browser's language (can be changed manually)
* Display mode (light/dark/system)
These preferences can be modified at any time from your profile.
In the Enterprise offering, access to LLM models and secure chat features is automatically configured according to:
 * Whitelists defined by your company
* Security and compliance policies
* Your organization's scaling strategy
Administrators in your organization can adjust these settings based on the specific needs of different teams.
If you need to use the Prisme.ai API, you can generate and manage your API keys based on the permissions defined for your profile.
API usage limits are automatically configured according to your organization's Enterprise subscription.
For the Standard offering, you need to create an account and wait for its validation:
* Whitelists defined by your company
* Security and compliance policies
* Your organization's scaling strategy
Administrators in your organization can adjust these settings based on the specific needs of different teams.
If you need to use the Prisme.ai API, you can generate and manage your API keys based on the permissions defined for your profile.
API usage limits are automatically configured according to your organization's Enterprise subscription.
For the Standard offering, you need to create an account and wait for its validation:
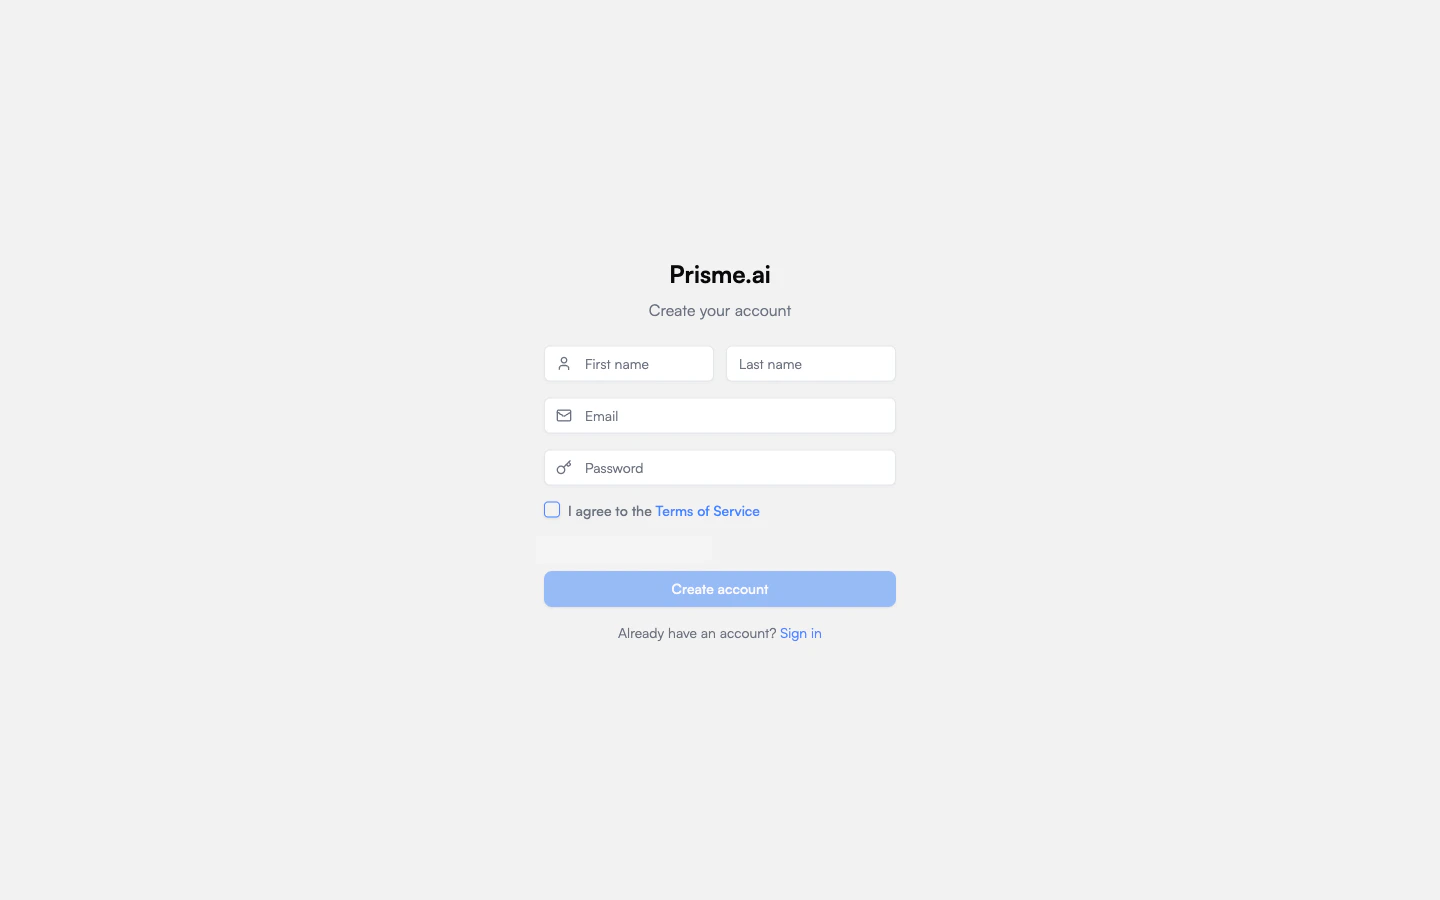 1. Fill out the registration form
2. Verify your email to confirm your address
3. Wait for your account approval (typically within 48 hours)
The validation process may vary depending on your region and use case.
Configure your user preferences:
* Interface language (defaults to your browser language)
* Theme (light/dark/system)
In the Standard offering, access to LLM models is based on your subscription tier:
* Available models are determined by your subscription level
* Usage quotas apply based on your plan
* You can upgrade your subscription for access to additional models or increased usage limits
Some advanced models and features may only be available in higher-tier plans.
## Role-Specific Settings
Different user roles may need specific configurations:
As an end user, focus on:
* Setting up your preferences
* Personalizing your AI interaction settings
You generally won't need to worry about advanced settings like API keys or workspace configuration.
As a power user or agent creator, you should also:
* Set up agent settings such prompts, starters ...
* Access to AI products
* Ability to create specific agents
As a developer, pay attention to:
* Access to Builder
* API key configuration with appropriate scopes
* Webhook settings for integrations
* Development environment connections
* CI/CD integration settings
As an administrator, you'll need to configure all aspects of the workspace:
* Access to Governe
* User management and permissions
* LLM provider settings and API keys
* Security policies and compliance settings
* Usage quotas and monitoring
## Next Steps
Once you've completed your account setup, you're ready to start using Prisme.ai:
Learn how to navigate the Prisme.ai interface
Begin your journey with practical first steps
1. Fill out the registration form
2. Verify your email to confirm your address
3. Wait for your account approval (typically within 48 hours)
The validation process may vary depending on your region and use case.
Configure your user preferences:
* Interface language (defaults to your browser language)
* Theme (light/dark/system)
In the Standard offering, access to LLM models is based on your subscription tier:
* Available models are determined by your subscription level
* Usage quotas apply based on your plan
* You can upgrade your subscription for access to additional models or increased usage limits
Some advanced models and features may only be available in higher-tier plans.
## Role-Specific Settings
Different user roles may need specific configurations:
As an end user, focus on:
* Setting up your preferences
* Personalizing your AI interaction settings
You generally won't need to worry about advanced settings like API keys or workspace configuration.
As a power user or agent creator, you should also:
* Set up agent settings such prompts, starters ...
* Access to AI products
* Ability to create specific agents
As a developer, pay attention to:
* Access to Builder
* API key configuration with appropriate scopes
* Webhook settings for integrations
* Development environment connections
* CI/CD integration settings
As an administrator, you'll need to configure all aspects of the workspace:
* Access to Governe
* User management and permissions
* LLM provider settings and API keys
* Security policies and compliance settings
* Usage quotas and monitoring
## Next Steps
Once you've completed your account setup, you're ready to start using Prisme.ai:
Learn how to navigate the Prisme.ai interface
Begin your journey with practical first steps